
How to Scan Recipe Cards With Your Phone and Actually Keep Them Organized
A practical workflow for using your phone to capture recipe cards cleanly, store them consistently, and avoid building another messy camera roll.
Most families do not need a dedicated scanner to start preserving their recipes. A phone is usually enough. The problem is not whether the camera is capable. The problem is what happens after the photo is taken. If the image lands in a giant camera roll with no naming system, no tags, and no connection to the clean recipe version, you are still only halfway done.
The goal is not to collect recipe photos. The goal is to create a usable archive. That means your phone capture process should be designed around three outcomes: readable images, consistent organization, and a clear path from photo to searchable recipe.
Set up the capture environment first
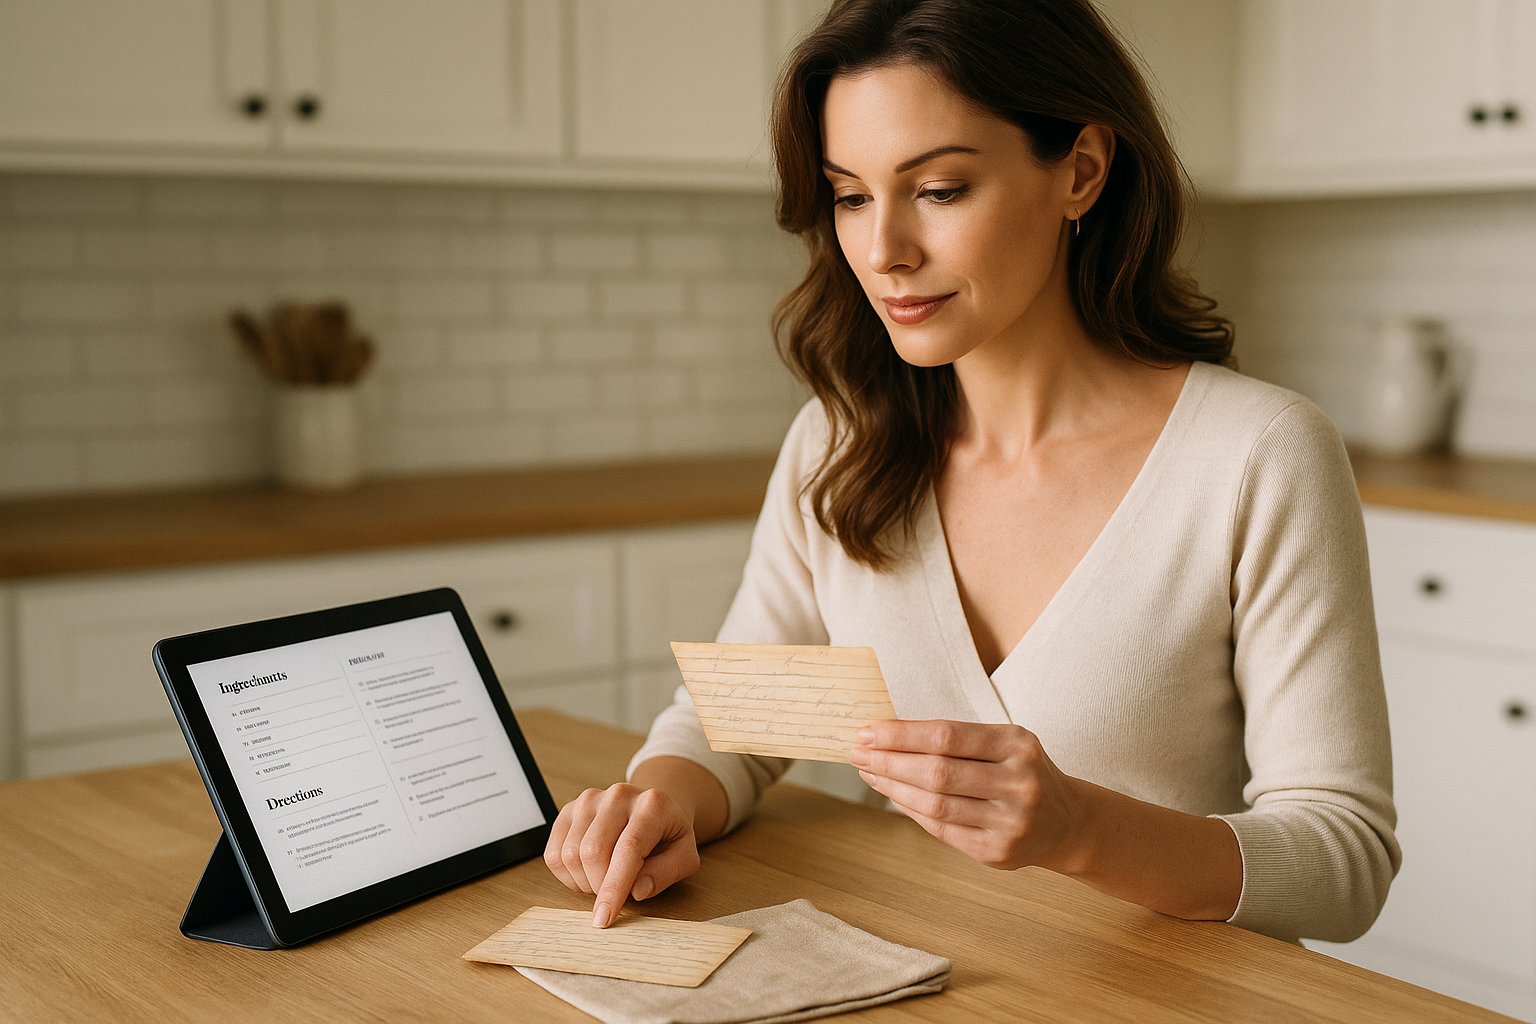
You will save time if you spend thirty seconds improving the capture conditions before you take the picture. Put the recipe card on a flat, non-glossy surface with good contrast. Neutral counters, matte cutting boards, or a plain sheet of paper all work well. Then move near a window or use even indoor light so the card is bright without glare.
What you are trying to avoid:
- shadows from your hand or phone
- glare from overhead lights
- distorted corners from holding the phone at an angle
- cropped edges that cut off handwritten notes
Hold the phone directly above the card and make sure the whole card is visible. If there is writing on the back, scan that too. If there are inserts, clipped notes, or annotations in another hand, capture them as part of the same recipe set.
Use a consistent naming approach immediately
The biggest phone-scanning problem is file sprawl. A hundred photos named like IMG_4832 and IMG_4833 are not an archive. They are a future sorting problem.
As soon as you finish a small batch, rename the images using a simple pattern. Good examples:
grandma-anne-pecan-pie-frontgrandma-anne-pecan-pie-backholiday-stuffing-original-card
The exact naming convention matters less than consistency. If everyone in the family can understand the file name without opening it, the system is already working better.
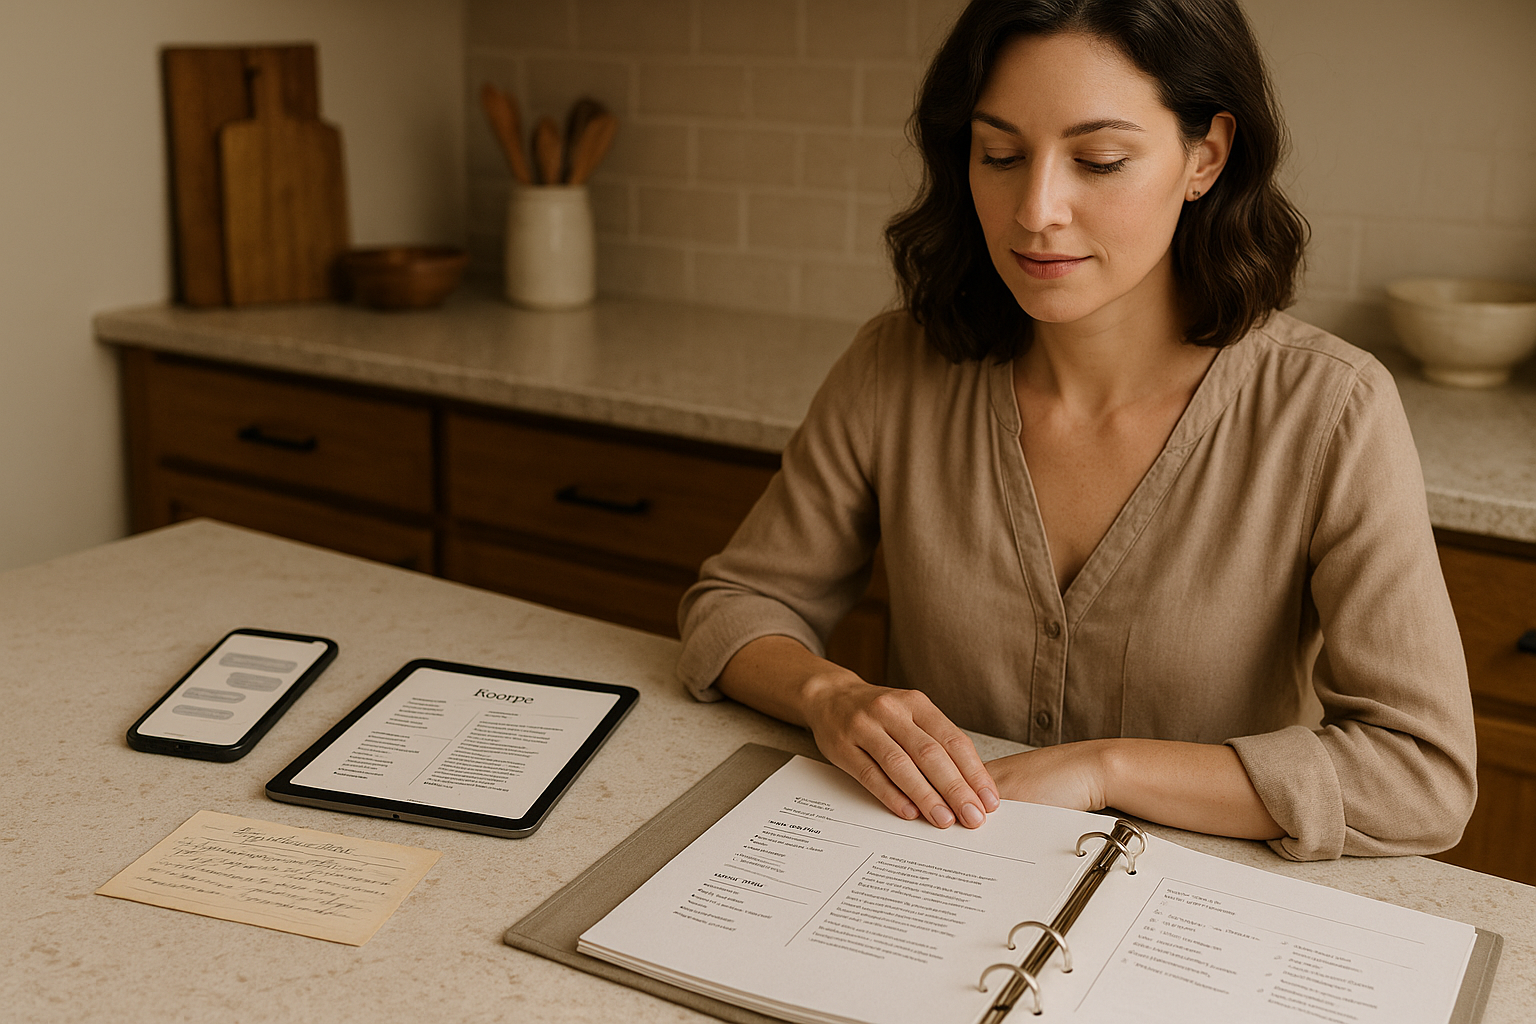
Keep the original image and the clean recipe together
This is where most phone-based efforts fall apart. People save the picture in one place, type the recipe somewhere else, and lose the connection between them. Months later they have a clean digital version but cannot find the handwritten original, or they have a photo but do not know whether anyone ever corrected the instructions.
Instead, treat each recipe as a single record with two layers:
- the original image or scan
- the structured recipe people will actually cook from
That pairing gives you both sentiment and usefulness. The handwriting, stains, edits, and notes stay preserved, while the clean recipe becomes searchable and easy to share.
Capture the details that the camera cannot explain
A phone photo preserves the card, but it does not preserve interpretation. If the original says "bake until done," the image alone does not help your kids or cousins know what that means. As you scan, add the practical notes that future cooks will need:
- actual bake time
- pan size
- ingredient substitutions
- which holiday or family member the recipe belongs to
- any mistakes people usually make
If you can get those notes while the original cook is still around to answer questions, do it now. That is one of the highest-value parts of the entire digitizing process.
Use small batches instead of one giant backlog
Phone scanning works best when you avoid the "capture everything now, organize later" trap. A better rhythm is:
- scan 10 to 20 recipes
- rename the files immediately
- type or import the most important ones
- add notes, tags, and collections
- move to the next batch
Small batches prevent the archive from turning into a pile of unlabeled images. They also let you build momentum. By the end of the first session, you should already have a few recipes that are fully preserved and ready to use.
What a good phone-scanning workflow looks like
If your process is working, you should be able to answer yes to these questions:
- Can someone else understand what each file is?
- Can you find the recipe again without scrolling through your whole camera roll?
- Is the original image linked to the clean recipe?
- Did you save the handwritten notes, back side, and context that matter?
If the answer is yes, your phone is doing exactly what it needs to do. You do not need perfect equipment. You need a system that turns quick captures into a lasting family record.
Make the scanning step easier
Use Recipes We Share to go from photo to usable recipe card
Instead of managing phone photos, manual notes, and cleanup steps in separate places, upload the recipe once and keep the original image, extracted text, and polished digital version together.
- Upload one recipe photo or a full batch from your phone
- Keep the handwritten original attached to the clean recipe
- Edit the extracted ingredients and steps in one place
Preserve your family's recipes before they're lost
Sign up for weekly tips on digitizing and sharing your family recipe collection.
Newer post
You're at the newest article.
On this page
Related posts
More articles in guides to keep the momentum going.
How to Digitize Your Grandmother's Handwritten Recipes: A Complete Guide
A step-by-step guide to converting handwritten recipe cards into beautiful digital recipes your whole family can access.
Which Holiday Recipes Should You Digitize First?
If your family cookbook feels overwhelming, start with the dishes that carry the most memory and risk. This guide helps you decide what belongs at the top of the list.
How to Turn Texted Recipes Into a Real Family Cookbook
Many family recipes now live in message threads instead of recipe boxes. Here is how to turn those scattered texts into a cookbook people can actually use.